

Yeah! Goodbye fusion tables!
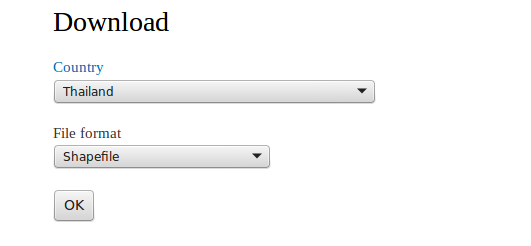
Step 1: go to this website.
Step 2: Download the shapefile of Thailand.
Step 3: extract the files.
Step 4: Open the file: THA_adm1.shp in Qgis
Step 5: Click the select single feature button.

Step 6: Select your province of interest.
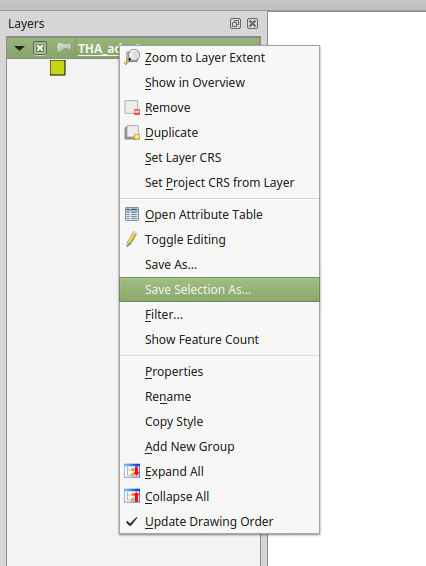
Step 7: click right on the layer and choose save selection as.
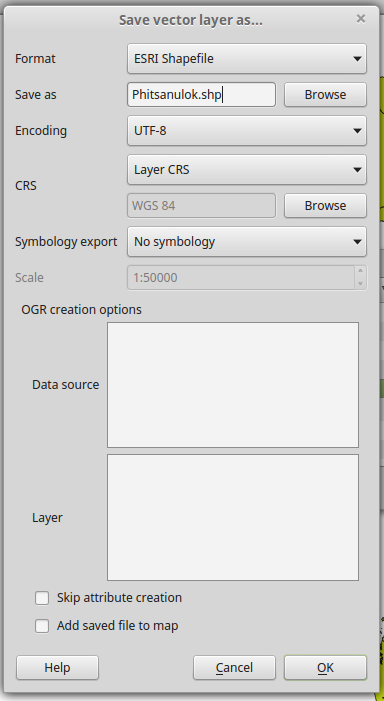
Step 8: save the selection as an esri shapefile.
Step 9: Open the code editor.
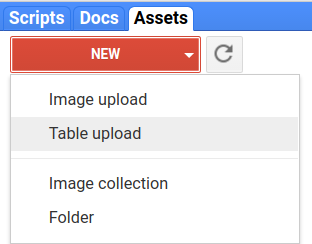
Step 10: Go to the Assets tab and select table upload
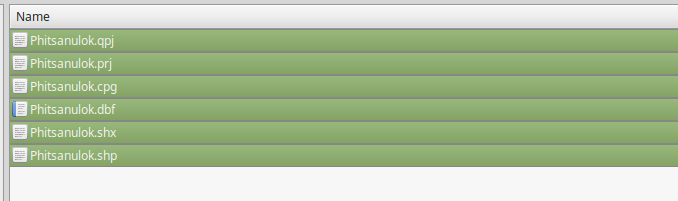
Step 11: Select all the files you just stored.
Step 12: wait for you data ingestion to finish

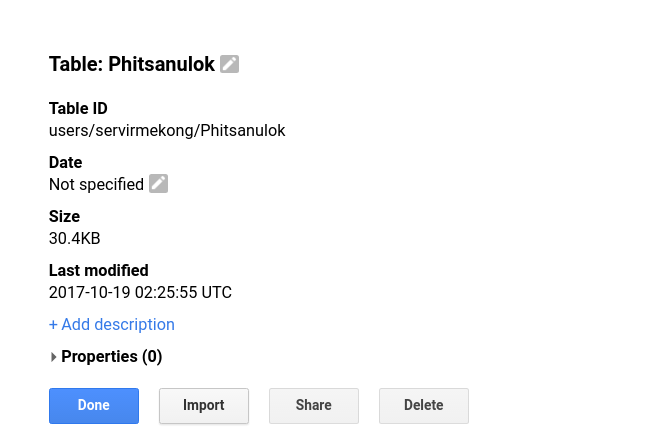
Step 13: Open the sharing options and share the table.
Step 14: Click on the table and import it.
Step 15: Use the code below to visualise the shapfile and use it for clipping. Fill appropriate values for the ??.
// import the dem
var dem = ee.Image("USGS/SRTMGL1_003")

// clip the dem
var demClip = dem.clip(Phitsanulok)

// set viz parameters
var viz = {min:??,max:??,palette:["??","??","??"]}

// add layer to map
Map.addLayer(Phitsanulok,undefined,"Phitsanulok")
Map.addLayer(demClip,viz,"dem Phitsanulok")

What version of QGIS was used; I have QGIS 3.0 and didn’t worked when I tried to duplicate this turorial.
What is the difference of you Tha-Adm1 and which version of gadms you used; I used gadms 3.6 and got instead a Tha-1 which did not worked when I used to duplicate your findings.
Why do you still use a code at the end of the tutorial?
LikeLike
I used Qgis 2.10. Any shapefile should work..
LikeLike
How long does it take on your side to ingest the asset? I’ve been waiting 22 minutes and it is still showing “Starting to ingest asset” in the Tasks tab. Is this normal, or did I do make a mistake in following the sequence giving here?
LikeLike
Google earth engine does not recognize .cpg and .qpj file extensions in my case. Any ideas on what goes wrong here?
LikeLike
these are qgis files. You dont need those.
LikeLike